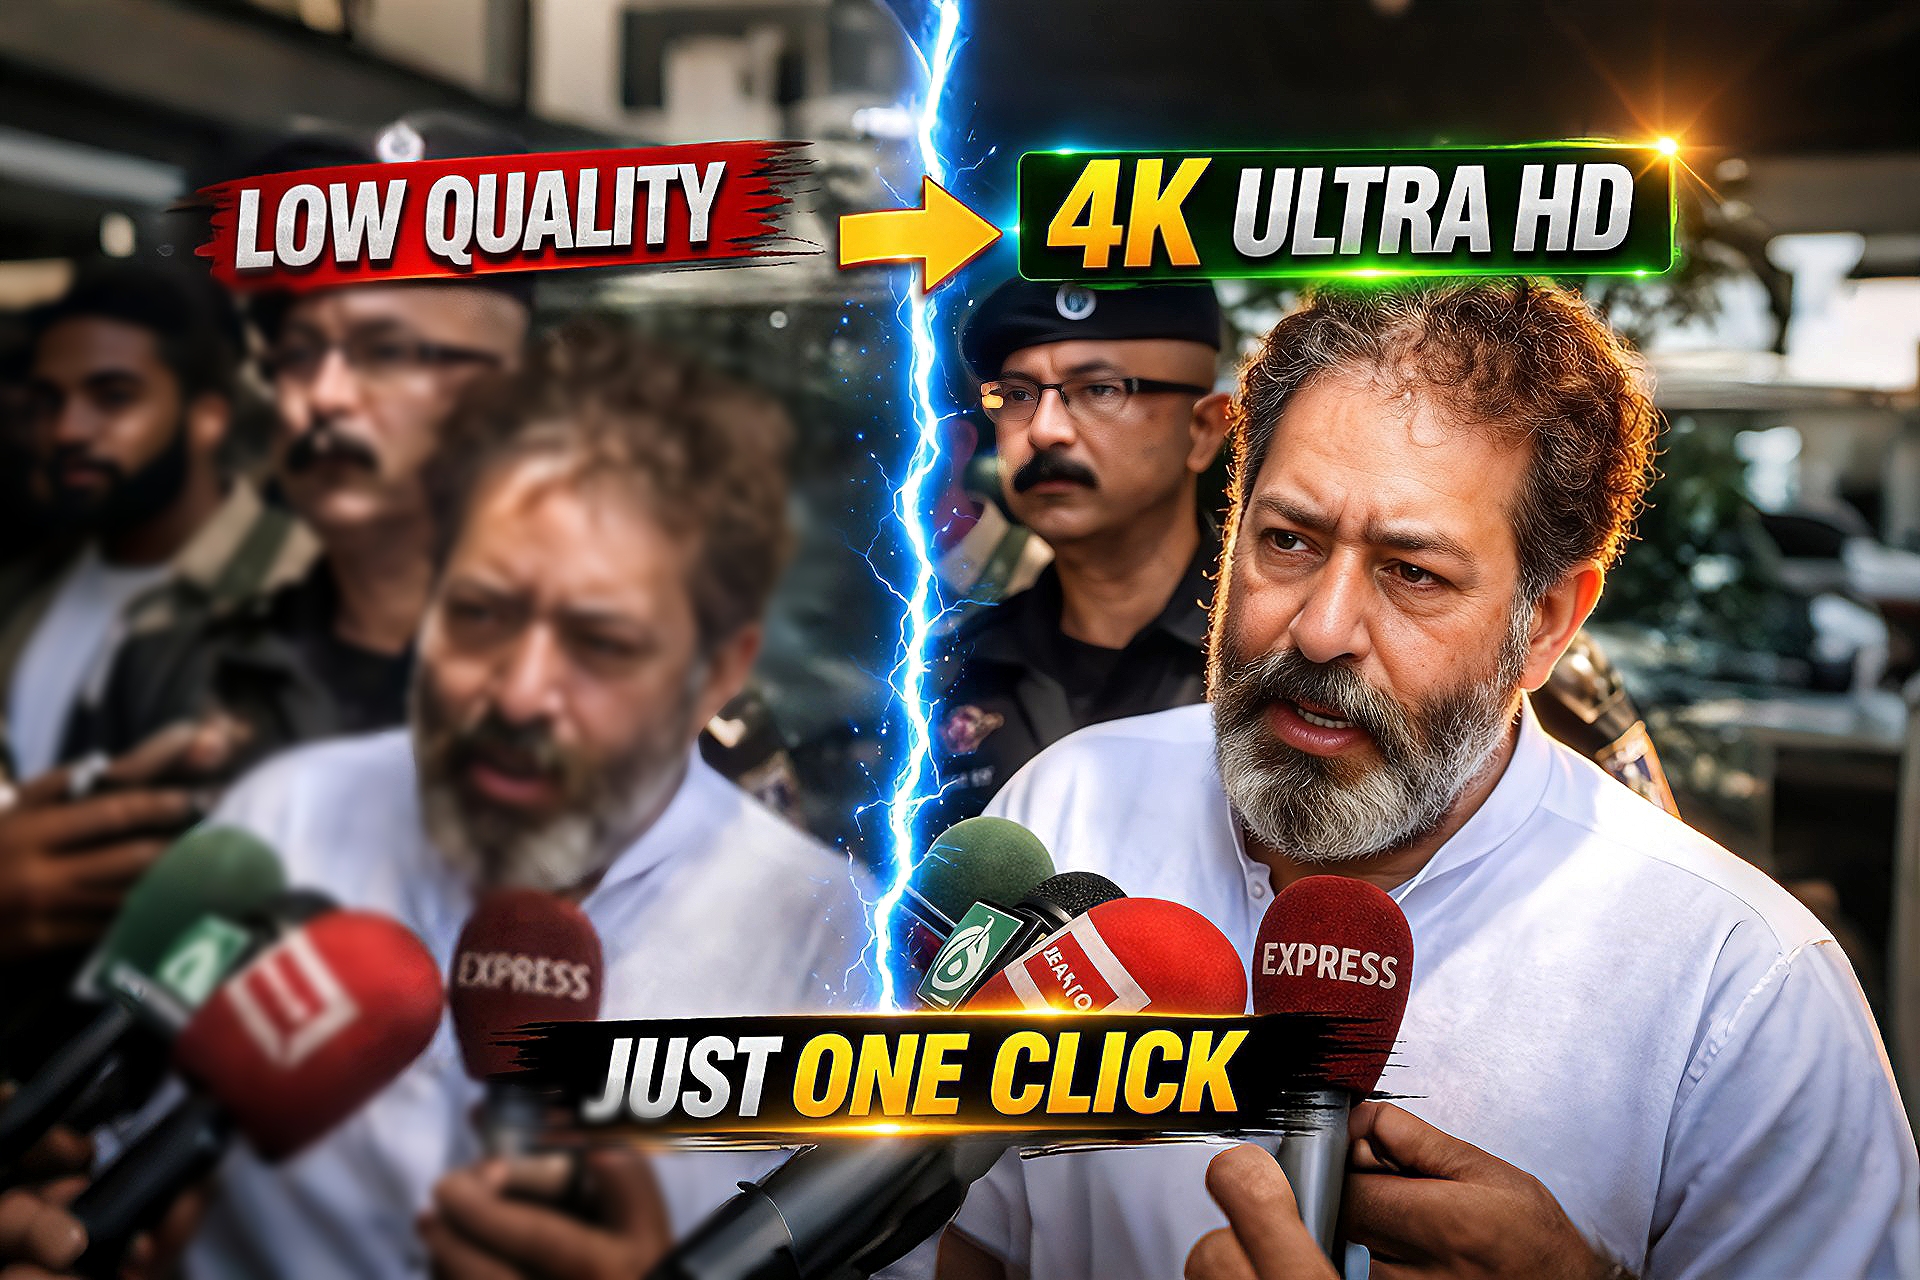
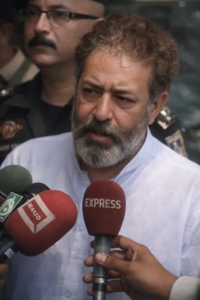
Improving image quality has become very important for creators, especially for thumbnails, social media posts, and websites. Many times, we only have low-quality or blurry images, which reduces the overall visual appeal.In this guide, you will learn how to easily convert low-quality images into sharp and clear 4K Ultra HD using AI tools.
How to Use This Method
Follow these simple steps to enhance your image:
Open any AI image upscaling tool
Upload your low-quality image
Select HD or 4K enhancement optionEnable AI enhancement features
Click process and wait for the result
Download your improved image
How This Works
AI upscaling tools use advanced machine learning to analyze image pixels and recreate missing details.This process improves sharpness, removes blur, and increases resolution without damaging the original look.
Tools Used In This Process
This method works with multiple AI tools:
AI Image Upscaler tools (online platforms)
Enhancement-based apps for better clarity
Basic editing tools (optional for final touch)
PROMPT
Enhance the portrait while strictly preserving the subject's identity with accurate facial geometry. Do not change their expression or face shape. Only allow subtle feature cleanup without altering who they are.Keep the exact same background from the reference image. No replacements, no changes, no new objects, no layout shifts. The environment must look identical. The image must be recreated as if it was shot on a Sony A1, using an 85mm f1.4lens, at f1.6, ISO 100, 1/200 shutter speed, cinematic shallow depth of field, perfect facial focus, and an editorial-neutral color profile. This Sony A1+ 85mm f1.4 setup is mandatory. The final image must clearly look like premium full-frame Sony Al quality. Lighting must match the exact direction, angle, and mood of the reference photo. Upgrade the lighting into a cinematic, subject-focused style: soft directional light, warm highlights, cool shadows, deeper contrast, expanded dynamic range, micro-contrast boost, smooth gradations, and zero harsh shadows.Maintain neutral premium color tone, cinematic contrast curve, natural saturation, real skin texture (not plastic), and subtle film grain. No fake glow, no runway lighting, no over smoothing.Render in 4K resolution, 10-bit color, cinematic editorial style, premium clarity, portrait crop, and keep theoriginal environmental vibe untouched. Re-render the subject with improved realism, depth, texture, and lighting while keeping identity and background fully preserved.NEGATIVE INSTRUCTIONS:No new background.No background change.No overly dramatic lighting.
Editing Process (Step-by-Step)
Step 1: Upload your image into the AI tool
Step 2: Select 4K or high-resolution option
Step 3: Apply enhancement settings
Step 4: Process the image
Step 5: Download the final HD/4K result
Best Use Cases
YouTube thumbnails
Instagram posts and reels covers
Website images
Old photo restoratio
E-commerce product images
Why This Method Is Trending
AI-based editing is growing rapidly because it saves time and delivers professional results without requiring advanced skills.Even beginners can now create high-quality visuals easily.
Conclusion
Converting low-quality images to 4K Ultra HD is now simple with AI tools.By following a few easy steps, you can enhance your images and make your content more professional and engaging.
Leave a Reply